
I talked with Eric there and he introduced me to their Gelato Starter Kit.

I took it home and started to play with some of the different techniques in the book.

First I tried just putting two colors on the paper close to each other and smearing them with my finger.

That blended really nice! It has a "sunset" kind of look.

The next thing I wanted to try was playing with them when they were wet. I put some areas of red, orange and yellow on the paper, and then I used the spray mist bottle that came in the gelato kit to spray the areas.

You can see that I am holding the sprayer pretty close to the paper for this test.
Now I could drag a Q-tip or paint brush through the colors and it smeared down the page really nice.

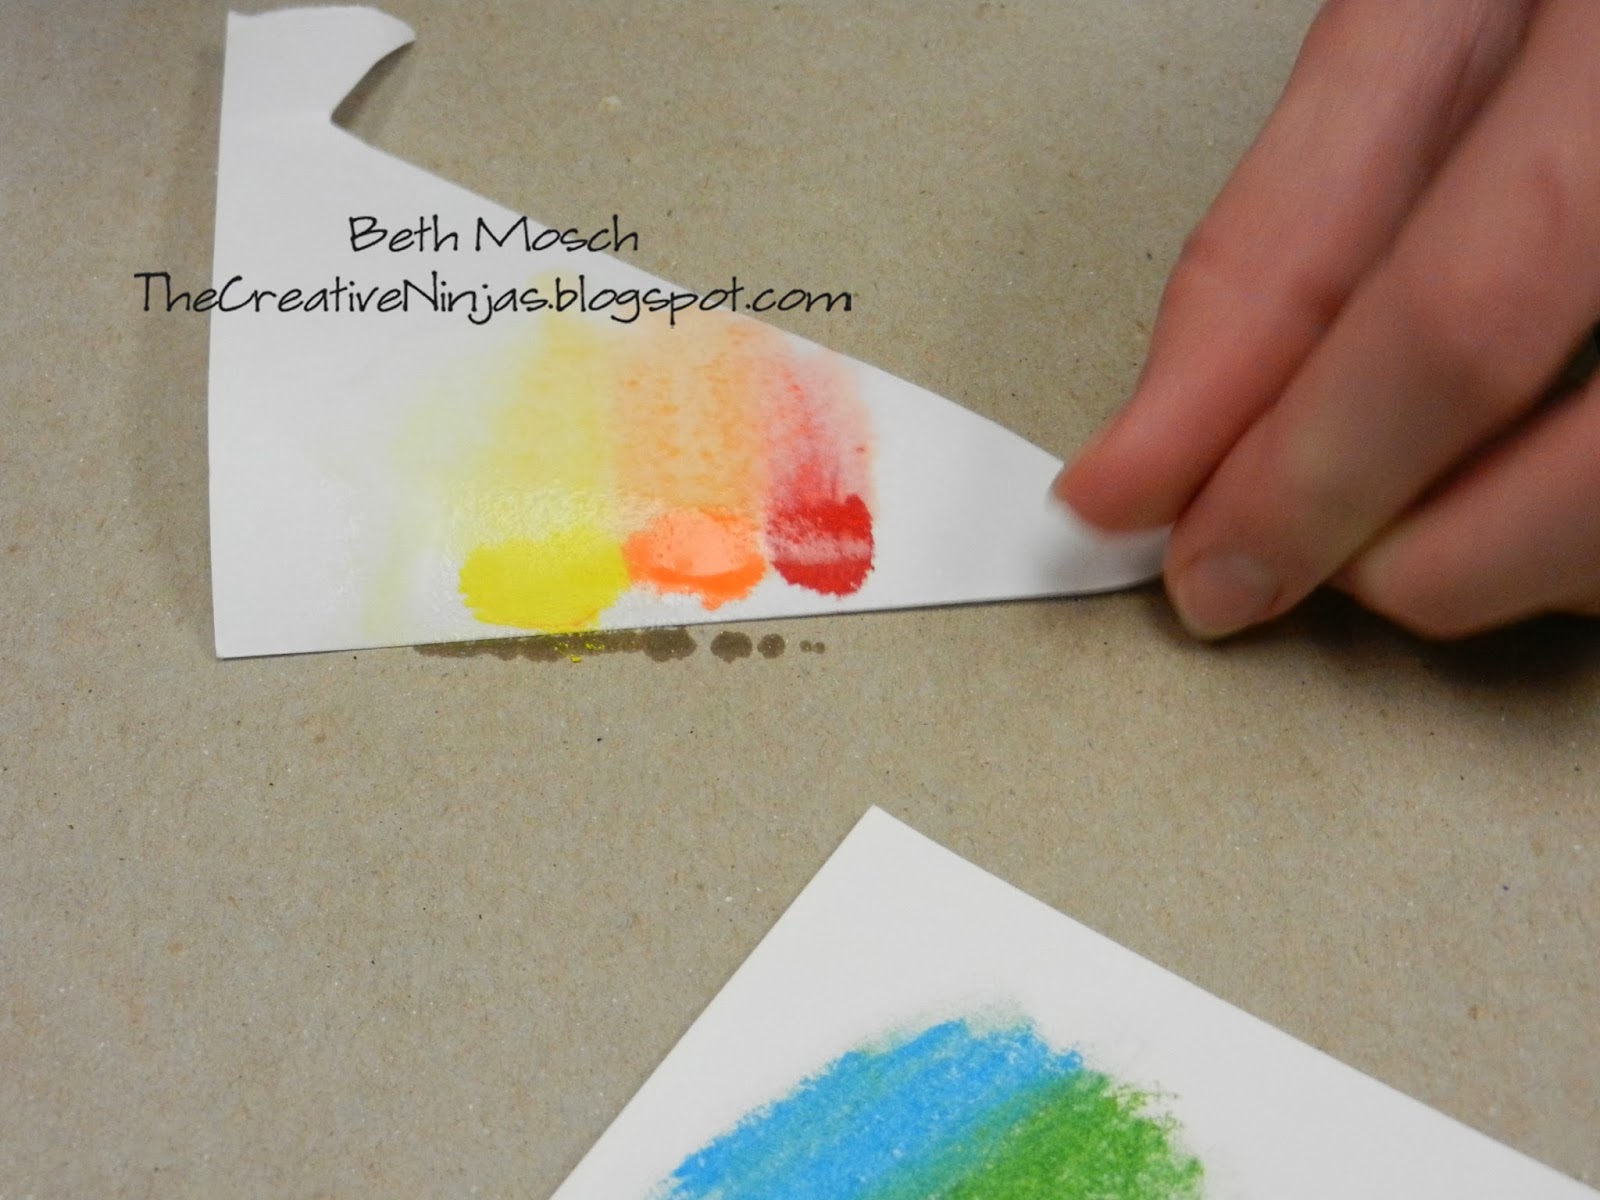
So next I wanted to try the drip method that is shown in the book. I did the same red, orange and yellow spots and then sprayed the paper and tilted the paper up so the water would run down the page. It did not work as well as it looks in the book . . . let's try it again with MORE of the Gelato on the page

So this time I used a full sheet and I wet each color right after I put it on the page, instead of doing ALL of the colors and then coming back and adding the water. So color, water, color, water . . .

This worked a LITTLE better, , but I think it did not get the same look as the example in the book because I was using ordinary cardstock and not a paper made for watercolors. I will have to try this one again when I can use some paper that has a better surface for this drip process.
Okay, let's move on to stamping!

I took a stamp I liked from my Lawn Fawn Flutter By stamp set. It is a nice flower stamp. I grabbed a few different colors of the Gelatos and rubbed them onto the stamp.

Here is what the stamp looked like after applying the colors.

Then I misted the stamp to make sure everything was wet and pressed it onto the page and . . .

PRETTY! That turned out really nice! There was still some Gelato on the stamp so I misted again and stamped a second time . . .

and I got a softer flower image!
My Mom liked the way this looked, so she played with the idea of stamping a couple close to each other . . . one is a first time stamp and one is a second time stamp . . .

She liked the idea of making a background paper this way.

Since it worked so nice with the flower, we decided to try some butterflies. Apply Gelato, mist the stamp, then stamp the image.

Looks like I went a little light on the tips of the butterfly wings on that one. Let's try that again.

I did several of them with different colors and even did some "second time" stamps too just to see how it would look. I think that this technique works great with the flowers and the butterflies since it really allows you to get several colors on to one image.
Below are some of the Faber Castell links . . . tell them Beth sent you!
Faber Castell Website // Craft Products // Blog // Facebook // Twitter // YouTube // Pinterest
Faber Castell Website // Craft Products // Blog // Facebook // Twitter // YouTube // Pinterest
No comments:
Post a Comment